
How to Share and Embed Your Chatbot
This article explains how to share your chatbot via a direct link, embed it on a web page using an iframe, and integrate it as a floating chat button on your website (including step‑by‑step instructions for WordPress).
1. Share the Link to Your Chatbot
You can use your chatbot as if it were a standalone website and share it with others.
Direct Chatbot Link:
https://ai.forevercloud.shop/chatbot-iframe/bot-8fw3u6pow3
How to Use This Link
Bookmark it in your browser to access the chat at any time.
Share it with users via email, social media, or messaging apps.
Add it as a link or button on your website (e.g., “Open Chatbot”).
2. Embed Your Chatbot with an iFrame
Use an iframe to display the chatbot directly on a page of your website.
iFrame Code
Paste the following code anywhere in the HTML of the page where you want the chatbot to appear (typically in the body section):
<iframe src="https://ai.forevercloud.shop/chatbot-iframe/bot-8fw3u6pow3" width="100%" height="600px"></iframe>Tips
Width:
100%makes the chatbot stretch across the available width.Height: Adjust
600pxto fit your layout (e.g.,500px,800px).Ensure your page allows iframes and that no security settings block external content.
3. Add a Floating Chat Button to Your Website
You can integrate your chatbot as a floating chat button that appears on every page of your site.
Chat Button Script
Add the following script inside the <head> tag of your website:
<script defer id="chatbot-script" src="https://cdn.aichatbotjs.com/chatbot.js" data-chatbot-id="bot-8fw3u6pow3"></script>Once added, a chat button will appear on your site, allowing visitors to open and interact with your chatbot from any page.
4. How to Integrate the Chat Button in WordPress
If you use WordPress, you can add the chat button script site‑wide using a plugin.
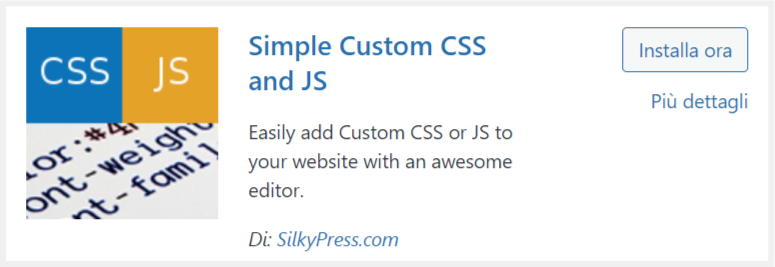
Step 1: Install the “Simple Custom CSS & JS” Plugin
Go to the Plugins section in your WordPress dashboard.
Click Add New.
Search for “Simple Custom CSS & JS”.
Click Install Now, then Activate.
Step 2: Add the Chatbot Script in the Header
In the WordPress sidebar, find and click Simple Custom CSS & JS.
Click Add Custom HTML (point 1 in the image).
Enter a name for your custom code (e.g., “Chatbot Script”) (point 2).
In the main text area (point 3), paste the script:
<script defer id="chatbot-script" src="https://cdn.aichatbotjs.com/chatbot.js" data-chatbot-id="bot-8fw3u6pow3"> </script>On the right sidebar, select Header as the location (point 4).
Click the Publish button to save and apply the changes (point 5).
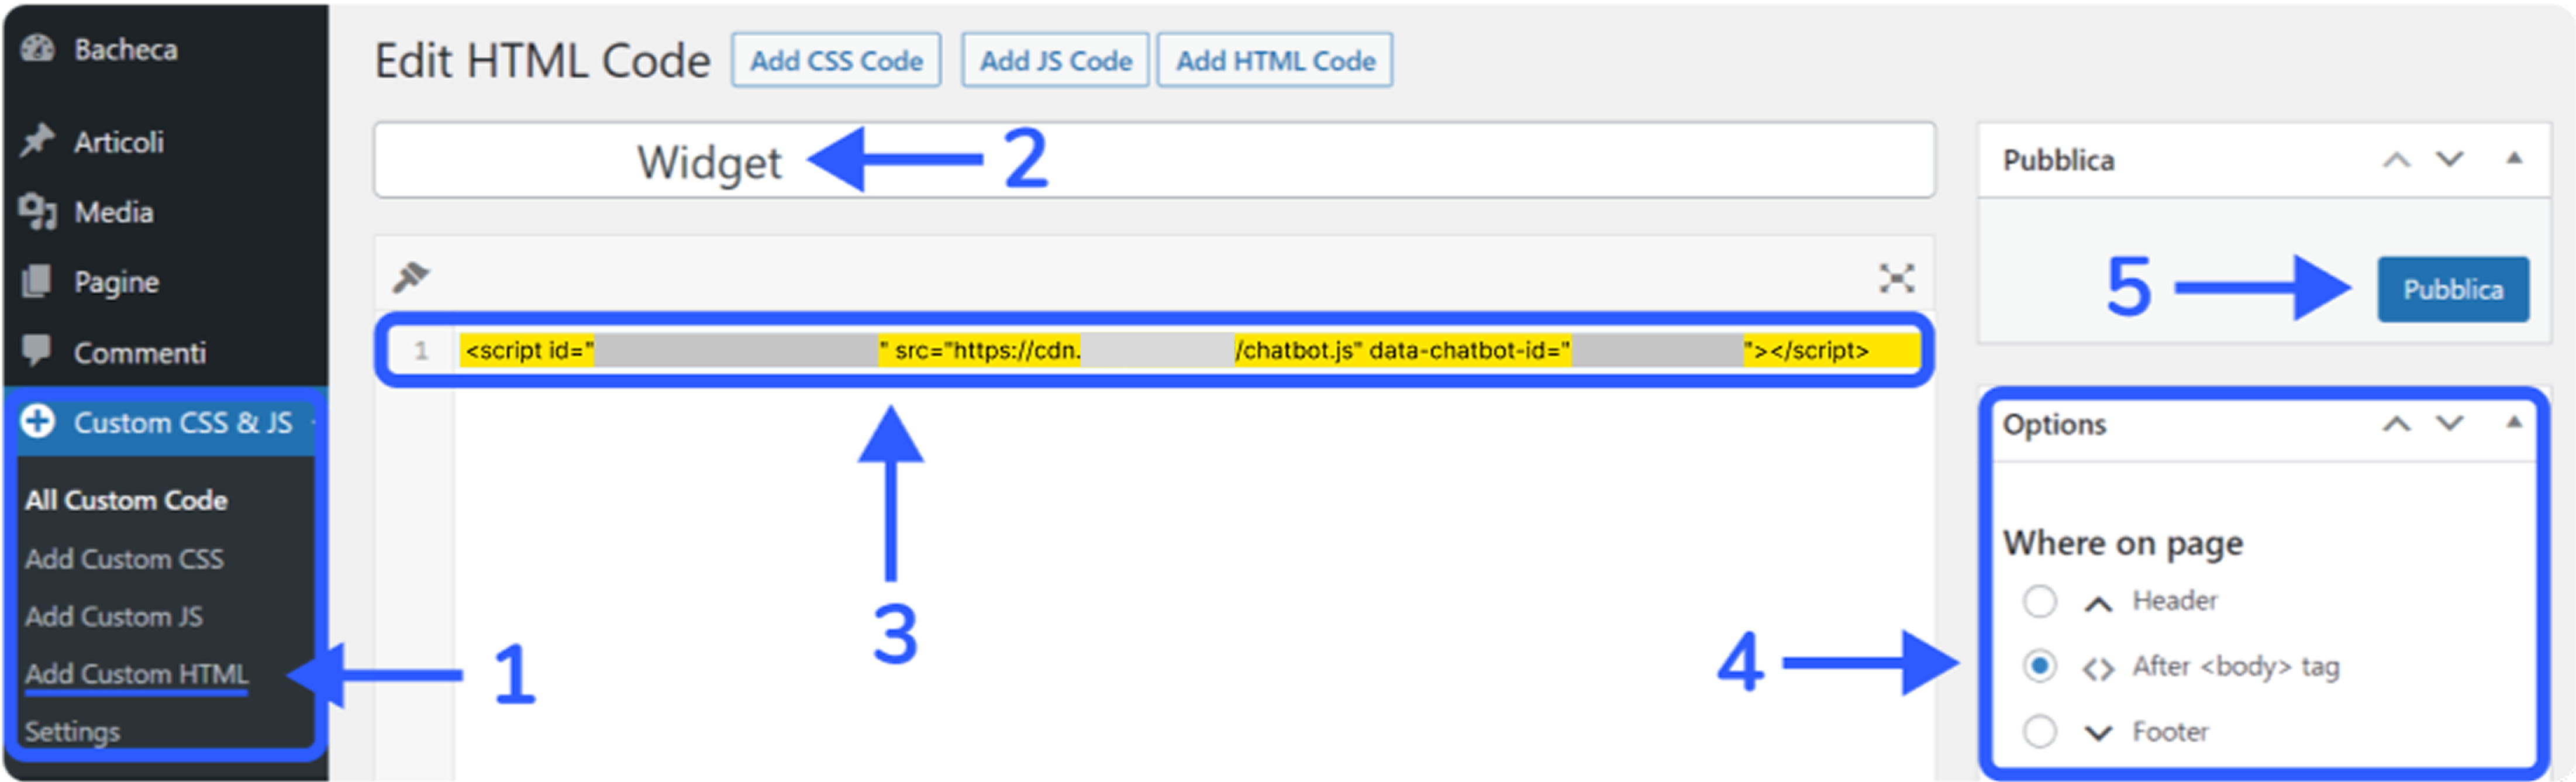
After publishing, the chat button will load on every page of your WordPress site.
Still need help?
Contact us